What is Mixing and Mastering?
Mixing and mastering are two vital stages required to produce quality audio. Mixing is more fundamental and refers to mixing audio signals together of any kind. Mastering, however, refers strictly to music production and is the art of finalizing a mixed song so it sounds as good as possible.
Both combine to create precision basslines, soaring synths, rocking guitars and sizzling hi-hats, etc! Without a good mix and master, your track might end up sounding like a sloppy, muddy mess.
Mastering is a pretty elusive process and it’s not considered to be easy. Top mastering engineers that produce hit music are some of the most highly paid professionals in the industry!
Prior to mastering, though, you need a good mix and mixing is also an art in itself. DJ mixing is also mixing, as is mixing instruments for a live show like a gig or concert – these follow the same fundamentals – you are blending audio signals together.
Mixing: The Fundamentals
First things first, as mentioned, the term mixing can be used in a few different ways in reference to audio.
Fundamentally, mixing refers to the act of mixing audio signals together. An audio signal might come from a DJ deck, or a microphone, or from another source like a digital instrument, e.g. a keyboard. Signals can also come from tracks in your DAW software.
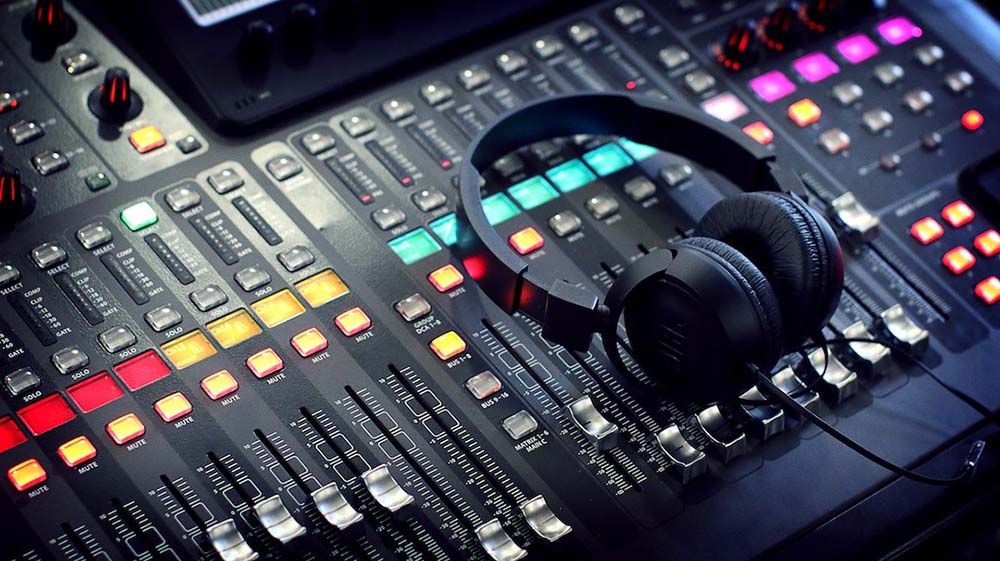
In terms of hardware, e.g. instruments, decks and microphones, signals are fed into a mixer or mixing desk where the signals are modified before output to a speaker system or other device. Your DJ mixer is one of these types of mixers, it is a hardware mixer that receives signals from sources, mixes them together, and then outputs them.
Mixing desks are larger forms of DJ mixers designed for recording and studio/live audio work. They’re designed to handle more inputs, e.g. for an entire band, and have more options for altering signals.
In the case of software, e.g. a DAW, mixing refers to the same thing. Signals within a DAW are mixed together in the window typically called the mixer. Here, you’ll notice channels that look a lot like the channels on a DJ mixer or mixing desk. They have gains and volume faders.
In both cases, mixing is fundamental the same. It is the process of mixing signals together to produce an output.
Summary: The 3 Types of Mixing
- DJ Mixing: Taking signals from 2 or more decks and mixing them together to perform.
- Live Audio Mixing: Mixing signals from various instruments and microphones using a mixing desk.
- Software/Music Production Mixing: Mixing signals from tracks within your DAW.
The Art of Mixing
All 3 types of mixing are artforms in their own ways. DJ mixing occurs in the moment, it is fast-paced and instinctive. DJs must mix the best bits from their tracks to create an overall tone that is balanced, impactful and exciting. Poorly mixed DJ sets will sound muddy, off-key, sharp and tinny or just generally unkind on the ears.
Mixing and Gain
Gain is a fundamentally important part of mixing that many don’t truly understand. Audio is comprised of voltages and these are organized via gain staging in the mixing process.
If you think about a finished track, it can only go so loud – you can’t push audio further than the equipment can handle without risking the audio and the equipment. If you pump too much voltage into your speakers, they’ll distort and eventually blow up.
Audio devices have a capacity – a limit – and this includes DAWs.
Once the track is complete, you can then play it as loud as your speakers go but when you’re actually making the track, you have to keep the levels under 0dB to prevent clipping. If you overload your channels then you end up with a track that exceeds 0dB and clips.
Clipping occurs when signals within a mixer extent into ‘the red’ – that’s the area above 0dB.
0dB is used because it is the ‘reference level’. A typical audio track will feature some sections that approach 0dB but mostly, it will be much quieter. Going beyond the ‘reference level’ is impossible without losing some audio. It’d be like overfilling a cup – some fluid will be lost.
On a DJ mixer, carefully turn up your gains into the red and listen to your audio – it will not sound good!
When we mix, we’re mixing the voltages – or energy levels – of our tracks so they all get a space in the cup, so to speak. Some sounds occupy more space because they have more energy. Bass, for example, takes up a good portion of the cup.
The Basics of DJ Mixing
DJ mixers are simple and streamlined for the job. They are ergonomic and have everything you need in a small space so it’s easily accessible as and when you need it. They have a minimum of 2 channels but can feature up to 8 or more enabling DJs to mix lots of decks and potentially even signals from other sources like instruments.
DJ mixers have 5 key features:
- Gains – To increase/decrease signals after they’ve come into the mixer.
- Volume faders – To turn tracks up and down in volume
- Master fader – Controls the output volume
- Crossfader – Fades between two channels
- EQ – Usually highs, mids and lows, the EQ cuts or boosts parts of a channel’s frequency spectrum
Mixers are a middle man. They operate between your sources (vinyl, CDs or tunes played off a USB or computer) and the output – your speaker system.
The Basics of Live Audio Mixing
Live audio mixing operates under many of the same principles. You have various sources (e.g. microphones) that feed into a mixing desk. Essentially, a mixing desk in live audio is similar to a DJ mixer but a lot bigger and more complex. Real instruments take a lot more mixing. It’s much harder to blend signals from an entire orchestra compared to just two DJ decks!
Still, though, a live audio mixer is still a ‘middle man’. Signals are blended before being sent to speakers, either monitor speakers positioned on stage or the front-of-house main speaker system.
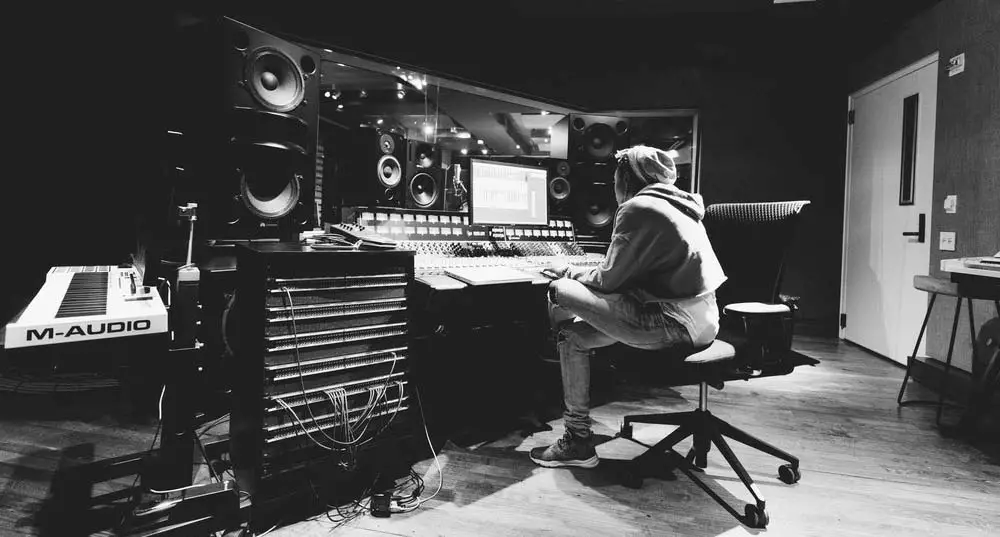
Mixing in Audio Production Using a DAW
When we discuss mixing in the context of actually creating music, we’re usually talking about blending tracks within a DAW to create a finished track. Analog mixing is still a thing and it is possible to use analog mixing desks together with a DAW but more often than not, mixing is done ‘in the box’, meaning inside the computer.
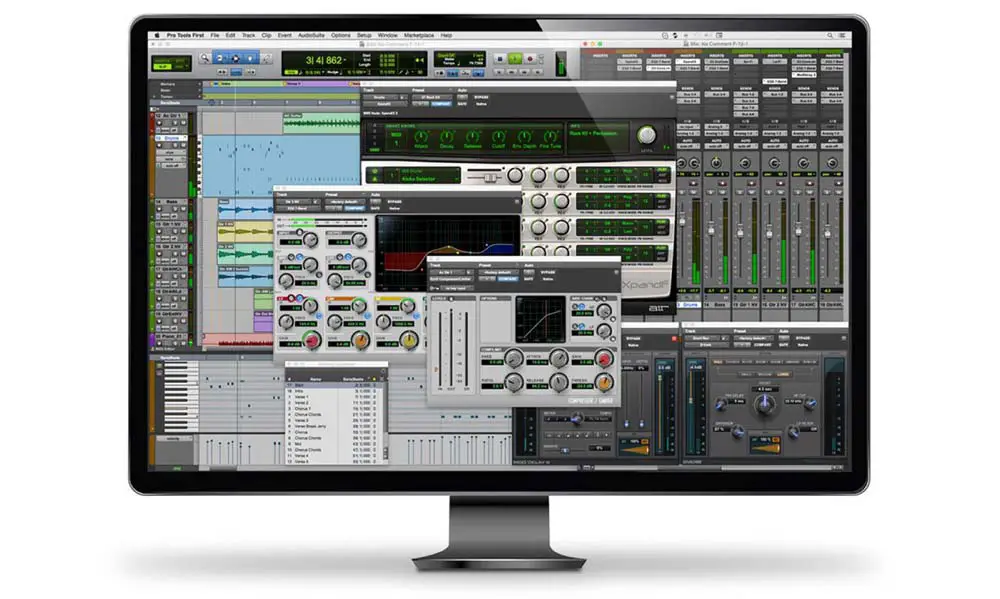
A DAW’s mixer section will resemble other mixers. You have channels with faders, meters, and gains. Also, there are two main types of fader, just like on DJ mixers or mixing desks.
- Channel faders
- Master fader
Your channel faders help you blend the signals that are then sent to the stereo master fader/output. The same principles of voltages apply, though voltages in a DAW are digitally represented. If you send too much voltage, or energy/signal, from your channel faders then your master fader will become overloaded. The same applies to your channel faders, if your inputs are too high, they will also become overloaded and clip.
The first and primary point of mixing is to get all of your signals to workable levels. You need to keep your master fader in the yellow only during the loudest parts of your tracks. You need to leave headroom on every track – headroom is the distance between your signals and the top of your fader.
Each channel will have a clipping light that will illuminate if it clips. Usually, it’ll be transient sounds like snare drums that are the aggravating noises but sub-bass can become extremely loud very quickly!
EQ and Processing
Mixing also allows you to EQ your tracks and process them with FX like compression, reverb, gates, and delays, etc. Some of this will be done as part of the production process whereas some are best applied during the ‘mixdown’, the process of mixing a finished song so it’s ready for mastering.
EQ – Like in DJ and live audio mixing, EQing your tracks allows you to blend signals together tonally to create balance. You’ll want to carve out space for instruments. You can’t have a bassy melody and a bassline as the bass from each will clash and likely clip your master output. There’s only enough room for some bass in that cup before it overflows!
The mids and highs are the same. Middle frequencies can become muddy quickly if there’s too much going on. In the high-end, excessive audio can make your tune sharp and tinny. Use EQ to balance your mix and give each track room to breathe.
Compression – So, we need headroom but we also like our music loud, right? Compression is the key. Compression squashes a signal so its transients – the loudest parts – are reduced relative to the quieter parts. This fattens the signal, it brings out the details of quieter parts whilst squashing transients that cause clipping. Compression is absolutely vital to modern music production.
FX – FX are very broad in nature and application and it’s impossible to cover them all here. Once again, some FX are added during production whereas others, like delay or reverb, might be added during the mixdown.
Width and Panning
Sounds in stereo music (which virtually music is) have width. There are two types of tracks in most DAWS, stereo, and mono. Mono involves one track that can be panned left or right. Stereo is a pair of tracks, each side can be panned left or right. In the mix, instruments should be panned into their own spaces. Generally, it’s best to keep bass and percussion towards the center and synths and instruments towards the outside.
Mastering

Mastering, unlike mixing, is strictly an audio production term and doesn’t apply to live audio. Mastering is the process of preparing a tune for its final destination, whether that’s export as an MP3, cutting to vinyl or copying to disc.
A mix should sound well balanced and composed but it’s still missing a lot that will be added during mastering. Mastering glues tracks together and increases the loudness of the tune. This is why headroom during the mix is important – you need room for the master to bring up the levels together.
Mastering requires the service of plugins designed specifically for mastering, a well-treated studio and some decent monitor speakers.
Mastering requires you to really listen and develop your critical listening skills. As a producer, this will happen in time and you’ll learn to hear when there’s an issue with a track that needs to be fixed in the mixdown, for example.
Some possibilities might too much bass, or a transient sound, e.g. a snare, that is far too loud in comparison to other instruments.
Mastering revolves around 4 processes:
EQ – EQ is necessary during mastering as well as the max. EQing in the master allows you to make final choices over your tune’s tonal balance. You can also use a dynamic EQ that applies different adjustments depending on the volumes of the band you are processing.
Compression – Final mixes are compressed again to fatten up the tone and allow for greater final loudness. Mastering compressors are designed to be quite gentle and many will add some subtle coloring to the audio to sweeten the tone.
Limiting – Limiting comes in two broad forms, limiting and maximizing. Limiting reduces peaks whilst leaving the rest of the audio untouched and is useful for controlling audio with many transients. Maximizing is essentially compression and is designed to bring the average level up as high as desired.
Widening – It’s best to make full use of the stereo field using widening techniques. These can make sounds appear ‘beyond the speakers’ to create additional depth whilst creating focus in the middle.
Summary
Hopefully, this answers questions over the difference between mixing and mastering. Mastering is crucial yet subtle. The quality of a master depends on the quality of a mix and a good mix will be easier to master. You can’t turn a terrible mix into a good song by mastering – it’s physically impossible.
Always focus on your mix first. Use compression, EQ, and reverb primarily to give your tracks space to breathe. Avoid overcrowding and clipping by compressing loud tracks with transient sounds.
Mixing and mastering work together to create brilliant music. You can’t have one without the other!
You may also like: